 Skip to content
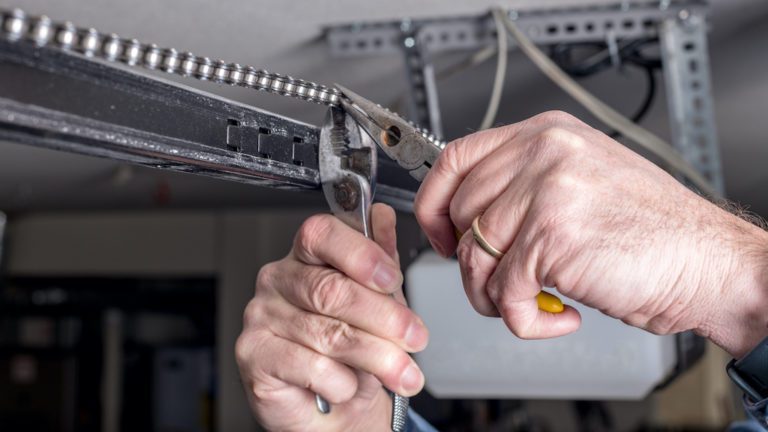
How To Adjust Garage Door Chain?
Garage doors are essential components of our homes, providing security, convenience, and protection for our vehicles and belongings. One crucial part of a garage door system is the chain drive mechanism, responsible for lifting and lowering the door. Over time and with regular use, the chain may require adjustments to maintain optimal performance and safety. Adjusting the garage door chain is a straightforward task that can be done by homeowners with a few basic tools and some guidance. Here’s a step-by-step guide on how to adjust a garage door chain.
Tools Required
Before starting, gather the following tools:
- Adjustable wrench
- Flathead screwdriver
- Measuring tape
- Lubricant (garage door lubricant or silicone spray)
- Safety First
Before attempting any adjustments, ensure safety precautions are in place:
Power Off: Disconnect the power to the garage door opener to prevent any accidental operation.
Lock the Door: Secure the garage door in the closed position using locking mechanisms or clamps.
Wear Safety Gear: Always wear safety glasses and gloves to protect yourself from injury.
Identifying the Problem
Before adjusting the chain, it’s essential to identify the issue you’re facing. Here are some signs that your garage door chain may need adjustment:
- Excessive noise during operation
- Uneven movement of the door
- Sagging or loose chain
- Difficulty opening or closing the door
- Adjusting the Chain Tension
Follow these steps to adjust the tension of the garage door chain:
Locate the Adjustment Points: Most garage door openers have two chain adjustment points – one near the motor unit and another near the trolley or door arm.
Loosen the Nuts: Using an adjustable wrench, loosen the nuts on the adjustment points. This will allow you to move the chain freely.
Adjust the Chain Tension: To adjust the tension, move the chain up or down using the adjustable wrench. Ideally, the chain should have about 1/2 to 3/4 inch of slack when pulled away from the rail. Use the measuring tape to check the slack.
Tighten the Nuts: Once you’ve adjusted the chain tension, tighten the nuts on the adjustment points securely.
Lubricating the Chain
After adjusting the chain tension, it’s a good practice to lubricate the chain to ensure smooth operation and prolong its lifespan. Here’s how:
Clean the Chain: Use a rag to wipe off any dirt or debris from the chain.
Apply Lubricant: Spray or apply garage door lubricant or silicone spray generously on the chain. Make sure to cover the entire length of the chain.
Operate the Door: Manually open and close the garage door a few times to distribute the lubricant evenly.
Checking the Alignment
A misaligned garage door can cause strain on the chain and affect its performance. Here’s how to check and adjust the door alignment:
Inspect the Tracks: Check the vertical and horizontal tracks for any bends, dents, or obstructions.
Adjust the Tracks: Use a rubber mallet to gently tap the tracks back into alignment. Ensure the tracks are securely fastened to the wall.
Check the Door Balance: Disconnect the garage door opener and manually lift the door halfway. The door should stay in place. If it falls or rises, the door may be out of balance and require professional adjustment.
Final Checks
After adjusting the chain and aligning the door, perform these final checks to ensure everything is in order:
Reconnect the Power: Plug in or reconnect the power to the garage door opener.
Test the Door: Use the garage door opener to open and close the door several times, observing its movement and listening for any unusual noises.
Safety Sensors: Ensure that the garage door safety sensors are working correctly by placing an object in their path and testing the door’s reversal mechanism.
Conclusion
Adjusting a garage door chain is a relatively simple task that can improve the performance, lifespan, and safety of your garage door. By following this step-by-step guide and conducting regular maintenance checks, you can ensure that your garage door operates smoothly and efficiently for years to come. If you encounter any issues that you’re unsure how to resolve, it’s always best to consult with a professional garage door technician to avoid causing further damage or compromising safety.
A1 Garage Doors is providing maintenance and installation services related to garage doors and their parts. If you’re looking for a trustworthy service by skilled technicians you can count on, give us a call at 343-309-9964 for a free quote.