 Skip to content
How To Test Garage Door Sensors With Multimeter?
Introduction
Garage door sensors play a crucial role in ensuring the safety and functionality of your garage door. These sensors are designed to detect obstacles or obstructions in the door’s path, preventing accidents and damage. Regular testing of garage door sensors is essential to ensure they are working correctly. In this comprehensive guide, we will walk you through the step-by-step process of testing garage door sensors using a multimeter, a versatile tool that measures electrical voltage and resistance.
Importance of Garage Door Sensor Testing
Before delving into the testing process, it’s important to understand why testing your garage door sensors is crucial. Faulty sensors can compromise the safety features of your garage door, potentially leading to accidents or damage to property. Regular testing helps identify issues early on, allowing for prompt repairs and preventing potentially dangerous situations.
Materials Needed:
Multimeter
Screwdriver
Cleaning supplies (optional)
Helper (optional)
Step 1: Safety First
Before starting any maintenance or testing procedure, it’s crucial to prioritize safety. Disconnect the power to your garage door opener to ensure that there is no electrical power flowing to the system. This will prevent any accidental activations during the testing process, ensuring a safe environment for you to work in.
Step 2: Locate the Sensors
Garage door sensors are typically located on both sides of the garage door, near the bottom. They consist of two components – a transmitter and a receiver. The transmitter emits an invisible beam to the receiver. If this beam is interrupted by an obstruction, the garage door stops closing or reverses.
Step 3: Inspect and Clean Sensors
Before testing, visually inspect the sensors for any dirt, debris, or damage. Clean the sensor lenses with a soft, dry cloth or a mild cleaning solution if necessary. Ensure that there are no obstructions blocking the sensor’s line of sight.
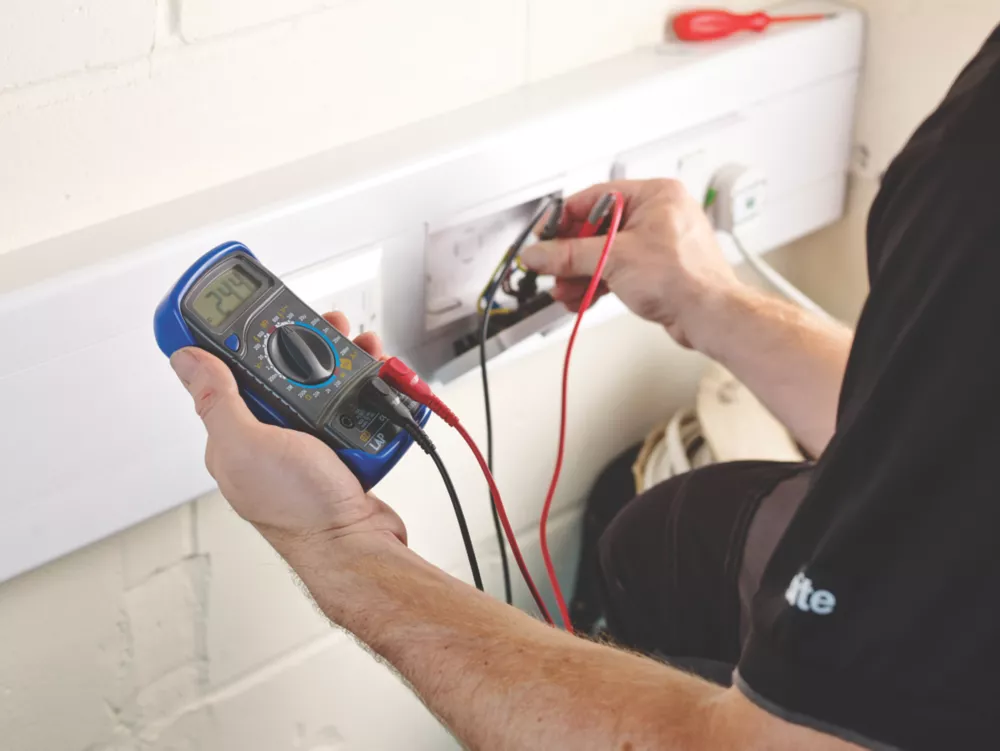
Step 4: Prepare the Multimeter
Set your multimeter to the “Ohms” or resistance measurement setting. This setting allows you to check the continuity of the electrical circuit in the sensors.
Step 5: Testing Sensor Wiring
Use a screwdriver to remove the sensor wiring from the garage door opener. This step is essential to isolate the sensors from the rest of the system for accurate testing.
Step 6: Test Sensor Resistance
Place the multimeter probes on the sensor wires. You should get a reading close to the specified resistance value indicated in your garage door opener’s manual. If the reading is significantly different, it indicates a problem with the sensor, and further inspection or replacement may be necessary.
Step 7: Test Sensor Continuity
Connect one multimeter probe to one sensor wire and the other probe to the corresponding wire on the other sensor. If the multimeter displays continuity, it means the electrical circuit is intact, and the sensors are functioning correctly. If there is no continuity, it indicates a break in the circuit, and you may need to replace the sensor or repair the wiring.
Step 8: Check Power Supply
Reconnect the sensor wires to the garage door opener. Turn the power back on and use the multimeter to check the voltage at the sensor terminals. Ensure that the voltage matches the specifications provided in the garage door opener manual.
Step 9: Verify Sensor Alignment
The alignment of garage door sensors is crucial for proper functioning. Ensure that the sensors are aligned correctly, facing each other, and that there are no obstructions blocking the infrared beam between them.
Step 10: Test Sensor Response
With the power back on, open and close the garage door to observe the sensor response. The door should stop or reverse if the sensors detect an obstruction. If the door does not respond, recheck the alignment and sensor wiring.
Conclusion
Regular testing of garage door sensors using a multimeter is a simple yet effective way to ensure the safety and proper functioning of your garage door. By following the step-by-step guide provided, you can identify and address any issues with your sensors promptly, preventing potential accidents and extending the lifespan of your garage door system. Remember to consult your garage door opener manual for specific instructions and specifications related to your model.
A1 Garage Doors is providing maintenance and installation services related to garage doors and their parts. If you’re looking for a trustworthy service by skilled technicians you can count on, give us a call at 343-309-9964 for a free quote.