 Skip to content
How To Switch Garage Door Back To Automatic?
A garage door that no longer functions automatically can be a hassle. Perhaps you had to manually operate it due to a power outage, or the emergency release lever was triggered. Either way, knowing how to switch your garage door back to automatic mode is essential for convenience and safety. This guide will walk you through the process, ensuring that your garage door is functioning smoothly and efficiently once again.
Understanding the Basics of Garage Door Systems
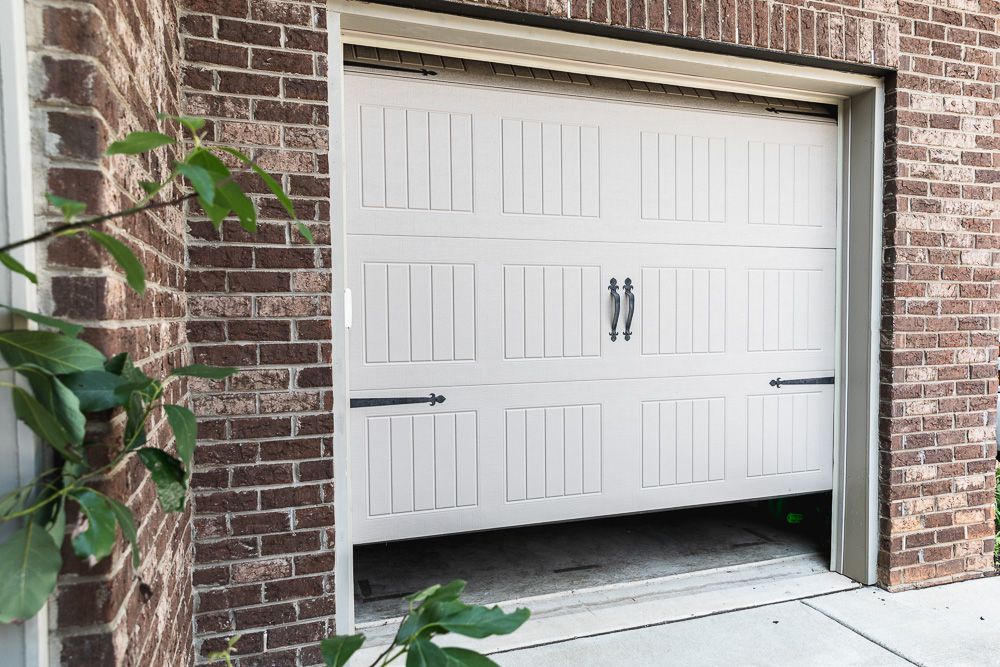
Before diving into the steps to restore the automatic function, it’s helpful to understand the basic components of your garage door system. Most residential garage doors are equipped with an electric motor that controls the door’s movement, an emergency release cord for manual operation, and safety sensors that prevent the door from closing on objects in its path.
The motor is responsible for lifting and lowering the door using a chain, belt, or screw drive system. The emergency release cord, usually a red handle hanging from the opener track, disconnects the door from the motor, allowing you to operate the door manually. Once the door is in manual mode, the motor will not control the door until the connection is restored.
Understanding this system is crucial because, in most cases, restoring the automatic function is about re-engaging the motor with the door after it has been disconnected.
Common Reasons for Manual Mode Activation
There are several scenarios where your garage door may switch to manual mode. A common cause is the pulling of the emergency release cord, either intentionally or accidentally. This cord is often used during power outages or mechanical failures to allow for manual operation. However, it can sometimes be pulled by mistake.
Another reason could be a malfunction in the opener system, which may require the door to be reset. This could happen due to power surges, electrical issues, or faults in the opener mechanism. Once these issues are resolved, the door should return to automatic mode, but sometimes manual intervention is needed to re-engage the system.
Finally, issues with the door’s sensors can also lead to a switch to manual mode. If the sensors detect an obstruction or are misaligned, the opener may disengage to prevent damage or injury.
Step-by-Step Guide to Switching Your Garage Door Back to Automatic
Now that we’ve covered the basics, let’s move on to the steps involved in switching your garage door back to automatic mode. These steps apply to most standard garage door systems but always consult your manufacturer’s manual for specific instructions related to your model.
Ensure Power to the Opener
Before doing anything, ensure that the garage door opener has power. Check if the motor unit’s indicator lights are on. If the opener is not receiving power, check your home’s electrical panel for tripped breakers or blown fuses. If everything seems fine and the motor still doesn’t receive power, try plugging it into a different outlet to rule out an outlet malfunction.
Power issues are one of the most common reasons a garage door remains in manual mode. Without electricity, the motor won’t engage, leaving you stuck with manual operation.
Close the Garage Door Fully
If the garage door is currently open, close it manually. Make sure it’s fully shut before proceeding. If you attempt to re-engage the motor while the door is partially open, the system may not function correctly, and you could risk damaging the opener or the door itself.
Once the door is closed, you can move on to re-engaging the opener.
Locate the Emergency Release Cord
Next, find the emergency release cord. This is usually a red cord hanging from the garage door opener track. It’s designed to disconnect the door from the opener motor and is often used during power outages or in the event of a malfunction.
Make sure the cord is pulled towards the door and hanging freely. This will ensure that the mechanism is in the correct position to re-engage the door to the automatic system.
Re-Engage the Opener
To switch the door back to automatic, you’ll need to re-engage the opener. This can be done in two ways depending on your model.
For most systems, simply pull the emergency release cord toward the door until you hear a click. This click indicates that the door has reconnected with the trolley attached to the motor.
On some models, you may need to manually move the door until it locks into the trolley mechanism. This may require gently lifting the door until you hear it latch into place. Once you feel that the door is secured in the track, the opener should be re-engaged.
If you are unsure of how your specific model works, consult the user manual for detailed instructions.
Test the Automatic Function
Once the opener is re-engaged, it’s time to test the door. Press the button on your garage door opener remote or the wall-mounted control panel. The door should begin to open or close automatically.
If the door doesn’t move, or if it jerks and stops, the connection might not have been properly established. In this case, repeat the process, ensuring that the emergency release cord is fully pulled and the door is properly engaged with the opener.
You can also try disconnecting the door again and redoing the process to ensure the mechanism is functioning smoothly.
Check for Sensor Issues
If the garage door opener still isn’t working, it could be due to an issue with the safety sensors. Located near the bottom of the garage door tracks, these sensors prevent the door from closing if something is in its path.
Inspect the sensors for any obstructions, such as dirt or debris, and ensure they are properly aligned. The sensors should face each other, and their indicator lights should be on. If one or both of the sensor lights are off, or if they are blinking, you may need to realign them or clear any obstructions.
Once the sensors are properly aligned, test the door again. The automatic function should now work as expected.
Reset the Opener System (If Necessary)
In some cases, the garage door opener may need to be reset before it will function properly. This can often be done by unplugging the motor unit for a few minutes and then plugging it back in. Some models also have a reset button that can be pressed to clear any errors in the system.
Consult your user manual for the specific reset process for your model. After resetting, try operating the door again with the automatic opener.
Final Thoughts
Switching your garage door back to automatic mode is usually a straightforward process, but it does require attention to detail. Ensuring that the motor has power, the emergency release cord is properly engaged, and the safety sensors are functioning correctly are all critical steps to restoring automatic operation.
Regular maintenance can prevent many of the issues that lead to the door switching to manual mode in the first place. Periodically check the door’s balance, clean the sensors, and inspect the motor for any signs of wear or malfunction. Keeping your garage door in good condition will not only extend its lifespan but also ensure that it operates safely and efficiently.
If, after following these steps, your garage door still doesn’t return to automatic mode, it may be time to consult a professional. There could be an underlying issue with the motor, electrical components, or other parts of the system that requires expert attention.
By following this guide, you should be able to switch your garage door back to automatic and enjoy the convenience and safety it provides.
A1 Garage Doors is providing maintenance and installation services related to garage doors and their parts. If you’re looking for a trustworthy service by skilled technicians you can count on, give us a call at 343-309-9964 for a free quote.