 Skip to content
How To Replace Martin Garage Door Bottom Seal?
The garage door, an integral part of our homes, ensures the safety and security of our vehicles and possessions. Over time, wear and tear can affect various components, including the bottom seal, leading to decreased efficiency and potential damage. Replacing a worn-out bottom seal is a crucial step in maintaining the integrity of the garage door. In this comprehensive guide, we’ll walk you through the step-by-step process of replacing the bottom seal of a Martin garage door.
Understanding the Importance of a Bottom Seal
The bottom seal of a garage door plays a pivotal role in preventing external elements, such as dust, debris, and water, from entering the garage. It also aids in maintaining the temperature inside the garage, contributing to energy efficiency. A deteriorating or damaged seal can compromise these functions, leading to potential issues such as water damage and increased energy consumption.
Necessary Preparations
Before initiating the replacement process, gather the necessary tools, including a new bottom seal compatible with your Martin garage door, a screwdriver, a utility knife, a tape measure, and safety goggles. Ensure that the replacement seal matches the specifications of your door for a seamless fit.
Step-by-Step Replacement Process
Step 1: Safety First
Prioritize safety by disconnecting the garage door opener to prevent any accidental activation during the replacement process. Put on your safety goggles to protect your eyes from any debris or particles.
Step 2: Detach the Existing Seal
Locate the existing bottom seal attached to the garage door. Using a screwdriver, carefully remove the screws or nails holding the seal in place. Gently pull the old seal away from the door, taking note of its orientation for the installation of the new one.
Step 3: Measure and Cut the New Seal
Place the new bottom seal next to the garage door to determine the appropriate length required for a precise fit. Use a tape measure to measure the exact length, and then use a utility knife to cut the seal to the correct size. Ensure the cut is straight and smooth for an effective seal.
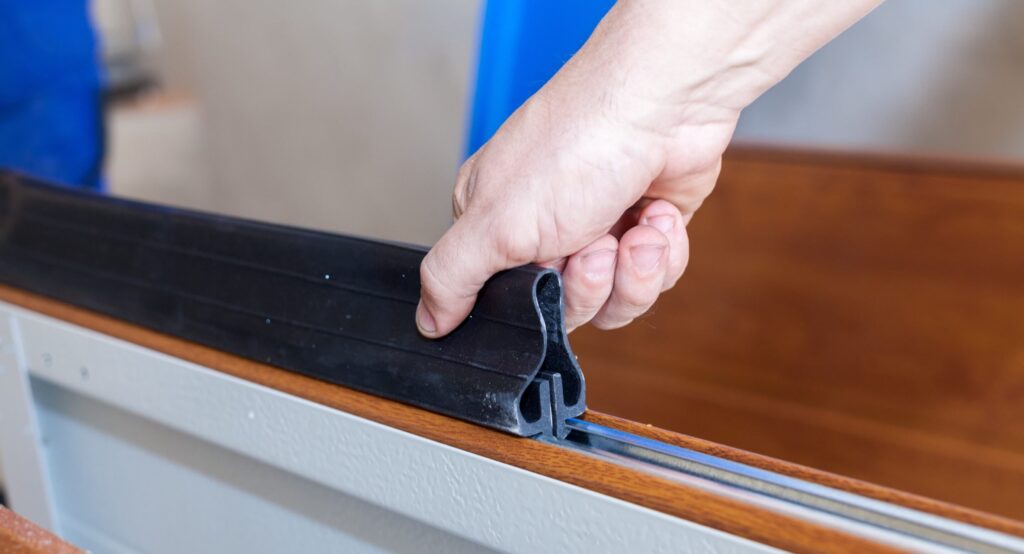
Step 4: Attach the New Seal
With the help of a partner, position the new seal at the bottom of the door, aligning it correctly with the existing grooves or slots. Secure the seal in place by inserting screws or nails through the designated holes. Make sure the seal is evenly distributed and properly aligned along the entire width of the door.
Step 5: Test the Door Functionality
After securing the new bottom seal, test the functionality of the garage door to ensure smooth and uninterrupted movement. Check for any gaps or misalignments that might hinder the proper sealing of the door.
Maintenance Tips for Prolonged Durability
To extend the lifespan of your new bottom seal, incorporate regular maintenance practices, such as cleaning the seal with a mild detergent and warm water, inspecting it for any signs of wear, and addressing any issues promptly to prevent further damage.
Conclusion
By following this comprehensive guide, you can efficiently replace the bottom seal of your Martin garage door, ensuring enhanced protection against external elements and improved energy efficiency. Regular maintenance and timely replacements are key to preserving the functionality and longevity of your garage door, providing you with peace of mind and security for years to come.
A1 Garage Doors is providing maintenance and installation services related to garage doors and their parts. If you’re looking for a trustworthy service by skilled technicians you can count on, give us a call at 343-309-9964 for a free quote.