 Skip to content
How To Replace Garage Door Extension Springs?
Introduction to Garage Door Extension Springs Replacement
Garage door extension springs are crucial components that assist in lifting and closing your garage door smoothly. Over time, these springs may wear out or break, requiring replacement. While this task can seem daunting, with the right tools and precautions, you can safely replace them yourself.
Step 1: Gather the Necessary Tools and Materials
Before starting, gather the following tools and materials:
- Safety glasses and gloves
- Wrenches and sockets (specific sizes vary by door)
- Vice grips or locking pliers
- Ladder or sturdy step stool
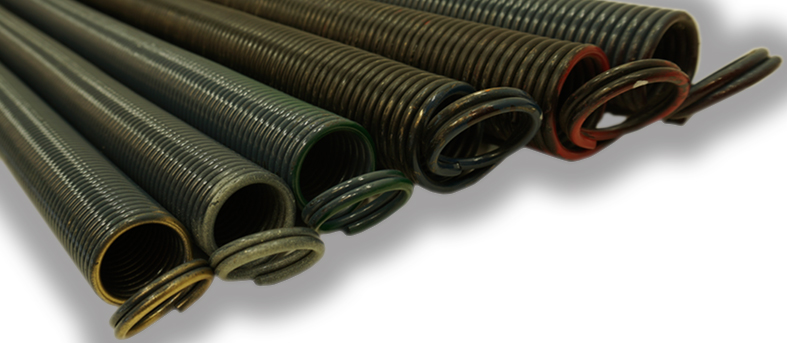
- Replacement extension springs (ensure they match your door’s specifications)
Step 2: Prepare for Safety
Safety is paramount when dealing with garage door springs. Disconnect the power to the garage door opener to prevent accidental activation. Wear safety glasses and gloves to protect against potential debris or spring tension.
Step 3: Identify the Type of Springs
Identify whether your garage door uses single or double garage door extension springs. Single springs are on one side, while double springs are located on both sides of the door.
Step 4: Release the Tension
Use vice grips or locking pliers to clamp onto the track just below the bottom roller. This secures the door in place and prevents it from moving when the tension is released.
Step 5: Remove the Old Springs
Using a wrench or socket, loosen the bolts holding the spring in place. Slowly release tension from the spring, ensuring it does not snap or release suddenly. Once tension is released, remove the old spring from the pulley system and brackets.
Step 6: Install the New Springs
Attach the new extension spring to the pulley system and brackets, securing it with bolts tightened to manufacturer specifications. Ensure the spring is oriented correctly and properly seated in the pulley system.
Step 7: Restore Tension
Carefully remove the vice grips or locking pliers, allowing the door to lower gently to the ground. Test the door’s operation to ensure the new spring provides the correct balance and tension.
Step 8: Test and Adjust
Test the garage door multiple times to ensure smooth operation and proper balance. Make any necessary adjustments to spring tension or door alignment as needed.
Conclusion
Replacing garage door extension springs requires careful attention to safety and detail. By following these steps and taking necessary precautions, you can successfully replace extension springs and maintain the functionality of your garage door. If you’re unsure or uncomfortable with the process, consider consulting a professional garage door technician for assistance.
A1 Garage Doors is providing maintenance and installation services related to garage doors and their parts. If you’re looking for a trustworthy service by skilled technicians you can count on, give us a call at 343-309-9964 for a free quote.