 Skip to content
How To Repair Garage Door Cable?
Introduction
Garage door cables are crucial components of your garage door system, responsible for the smooth and safe operation of the door. Over time, these cables can wear out or break, leading to a malfunctioning garage door. Repairing garage door cables might seem daunting, but with the right tools and knowledge, it can be a manageable DIY project. This article will guide you through the steps to repair your garage door cable, ensuring your door operates safely and efficiently.
Understanding Garage Door Cables
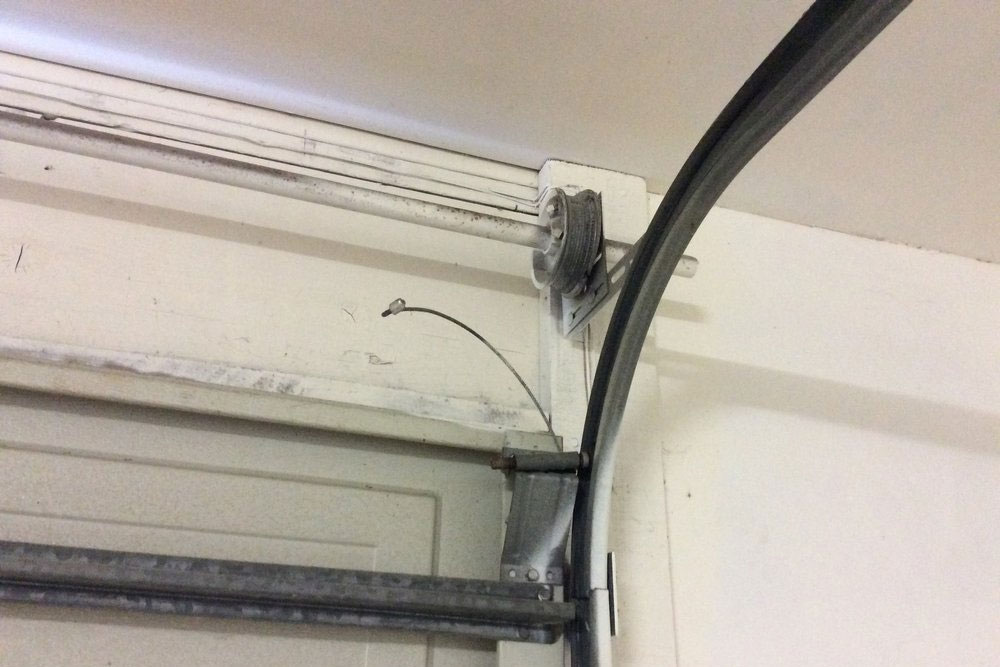
Garage door cables are part of the lifting mechanism that helps raise and lower the door. These cables are attached to the door’s bottom brackets and the torsion or extension springs. The cables help balance the weight of the door, making it easier to lift manually or with an opener. There are two main types of garage door cables: torsion spring cables and extension spring cables.
Torsion spring cables are wound around drums at each end of the torsion spring shaft. Extension spring cables run alongside the horizontal tracks. Regardless of the type, both cables can fray, rust, or snap over time due to constant tension and exposure to the elements.
Signs of a Faulty Garage Door Cable
Before repairing a garage door cable, it’s essential to identify whether the cable is the root of the problem. Here are some common signs that your garage door cable needs repair:
- The door is difficult to open or close.
- The door opens unevenly or is misaligned.
- There are visible signs of wear, fraying, or rust on the cable.
- The door makes unusual noises during operation.
Safety Precautions
Repairing a garage door cable involves working with high-tension components, which can be dangerous if not handled properly. Follow these safety precautions to minimize the risk of injury:
Disconnect the Power: Ensure the garage door opener is unplugged to prevent accidental activation.
Release Tension: Carefully release the tension in the springs before starting any repairs. This step is crucial to avoid injury.
Wear Protective Gear: Wear safety glasses and gloves to protect yourself from potential hazards.
Use the Right Tools: Ensure you have the necessary tools, such as winding bars, pliers, and a wrench set, to perform the repair safely and effectively.
Tools and Materials Needed
To repair a garage door cable, you’ll need the following tools and materials:
- Replacement garage door cables
- Winding bars (for torsion spring systems)
- Pliers
- Wrench set
- Ladder
- Safety glasses
- Work gloves
Step-by-Step Guide to Repairing a Garage Door Cable
Step 1: Disconnect the Power
Begin by disconnecting the garage door opener from its power source. This step ensures that the door will not accidentally move while you are working on it.
Step 2: Open the Garage Door
Manually lift the garage door to its fully open position. Secure the door in place using a pair of vice grips or locking pliers clamped onto the tracks just below the bottom rollers. This will prevent the door from falling while you work on the cables.
Step 3: Release the Tension in the Springs
For torsion spring systems, use winding bars to carefully unwind the tension from the springs. Insert the winding bars into the winding cone and turn them slowly in the direction that releases the tension. Do this on both sides of the door to ensure the tension is fully released.
For extension spring systems, you may need to disconnect the safety cables and use a sturdy object to support the door while you work on the springs and cables.
Step 4: Remove the Old Cable
Once the tension is released, locate the bottom bracket where the cable is attached. Use pliers or a wrench to remove the fasteners holding the cable to the bracket. Carefully detach the cable from the drum or pulley system.
Step 5: Install the New Cable
Take the new garage door cable and attach it to the bottom bracket. Ensure the cable is securely fastened using the appropriate fasteners. Run the cable up to the drum or pulley system, making sure it is properly aligned and free of twists or knots.
Step 6: Reapply Tension to the Springs
For torsion spring systems, use the winding bars to reapply tension to the springs. Insert the winding bars into the winding cone and turn them in the direction that applies tension. Make sure to apply the same amount of tension on both sides to keep the door balanced.
For extension spring systems, reattach the safety cables and ensure the springs are properly aligned and tensioned.
Step 7: Test the Door
Remove the vice grips or locking pliers from the tracks and carefully lower the door to test its operation. Open and close the door a few times to ensure it moves smoothly and evenly. Listen for any unusual noises and check that the door remains properly aligned.
Maintenance Tips for Garage Door Cables
Regular maintenance can extend the life of your garage door cables and prevent future issues. Here are some tips to keep your cables in good condition:
Inspect Regularly: Check the cables for signs of wear, fraying, or rust at least once a month.
Lubricate: Apply a light coat of garage door lubricant to the cables and other moving parts to reduce friction and prevent rust.
Balance the Door: Periodically check the balance of your garage door. An imbalanced door can put extra strain on the cables and other components.
Replace When Necessary: If you notice significant wear or damage to the cables, replace them promptly to avoid a complete failure.
Conclusion
Repairing a garage door cable can be a straightforward task if approached with caution and the right tools. By following the steps outlined in this guide, you can restore the functionality of your garage door and ensure its safe operation. Regular maintenance and timely repairs will help keep your garage door system in optimal condition for years to come.
A1 Garage Doors is providing maintenance and installation services related to garage doors and their parts. If you’re looking for a trustworthy service by skilled technicians you can count on, give us a call at 343-309-9964 for a free quote.