 Skip to content
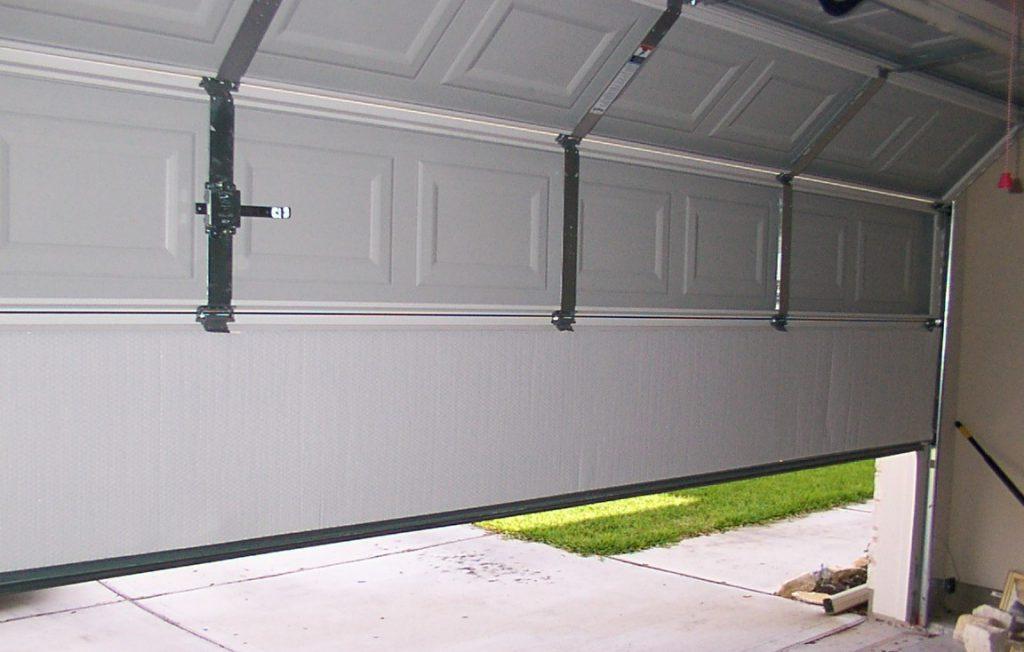
How To Repair A Garage Door Panel?
Introduction
Garage doors are essential components of our homes, providing security and convenience. However, over time, wear and tear can take a toll on their panels, leading to damage that needs prompt attention. In this guide, we’ll delve into the step-by-step process of repairing a garage door panel, ensuring its longevity and functionality.
Assessing the Damage
Before diving into repairs, it’s crucial to assess the extent of the damage. Inspect the panel thoroughly for cracks, dents, or warping. Determine whether the damage is localized or if it extends to adjacent panels. Understanding the scope of the repair will help you plan accordingly.
Gathering Materials and Tools
Next, gather the necessary materials and tools for the repair job. This typically includes:
- Replacement panel
- Hammer
- Pry bar
- Screwdriver
- Measuring tape
- Safety goggles
- Gloves
Ensure you have all the required items handy before proceeding with the repair.
Safety Precautions
Before commencing any repair work, prioritize safety. Wear safety goggles and gloves to protect yourself from sharp edges and debris. Additionally, disconnect the garage door opener to prevent accidental activation during the repair process.
Removing the Damaged Panel
Begin by opening the garage door to access the damaged panel easily. Use a pry bar and hammer to carefully remove the trim surrounding the damaged panel. Once the trim is off, unscrew the hinges and brackets securing the panel in place. With the fasteners removed, gently pull the damaged panel out of its frame.
Installing the Replacement Panel
Measure the dimensions of the damaged panel to ensure the replacement panel matches perfectly. Slide the new panel into the frame, aligning it with the adjacent panels. Secure the panel in place by reattaching the hinges and brackets using screws. Double-check the alignment to ensure smooth operation of the garage door.
Finishing Touches
Once the replacement panel is securely in place, reinstall the trim around the perimeter of the panel. Use a hammer to gently tap the trim into position, ensuring a snug fit. Inspect the panel for any protruding screws or sharp edges, and file them down if necessary. Finally, reconnect the garage door opener and test the door to ensure it operates smoothly.
Regular Maintenance
To prevent future damage to your garage door panels, implement a regular maintenance routine. Inspect the panels periodically for signs of wear and tear, and address any issues promptly. Lubricate hinges and rollers to ensure smooth operation and extend the lifespan of your garage door.
Professional Assistance
In some cases, repairing a garage door panel may require professional expertise. If you encounter complex issues or lack the necessary skills and tools, don’t hesitate to seek help from a qualified technician. Professional assistance ensures the repair is done correctly, minimizing the risk of further damage.
Conclusion
Repairing a garage door panel is a manageable task that can prolong the lifespan of your garage door and enhance its functionality. By following the step-by-step guide outlined above and prioritizing safety, you can successfully restore your garage door to its optimal condition. Remember to implement regular maintenance practices to prevent future damage and ensure smooth operation.
A1 Garage Doors is providing maintenance and installation services related to garage doors and their parts. If you’re looking for a trustworthy service by skilled technicians you can count on, give us a call at 343-309-9964 for a free quote.