 Skip to content
How To Program Multi Code Garage Door Opener?
Introduction
Garage door openers have become an indispensable part of modern living, providing convenience, security, and ease of access to our homes. Among the various types of garage door openers available, multi-code garage door openers offer added security and flexibility. In this article, we will delve into the step-by-step process of programming a multi-code garage door opener, ensuring that you can enjoy the benefits of a seamlessly functioning system.
Understanding Multi-Code Garage Door Openers
Multi-code garage door openers use a system that generates a unique code each time the door is opened. This rolling code technology enhances security by preventing unauthorized access through code grabbing or scanning devices. Programming these openers might seem daunting at first, but with the right approach, it becomes a straightforward process.
Materials Needed
Before you begin, make sure you have the following materials:
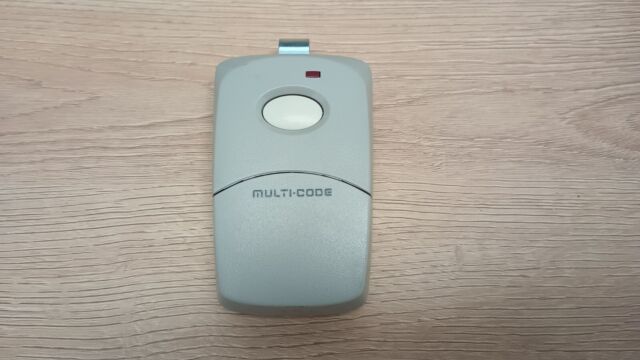
- Multi-code garage door opener remote
- Ladder
- Phillips screwdriver
- Access to the garage door opener’s control panel
- Helper (optional but recommended for testing)
Step 1: Locate the Control Panel
Begin by finding the control panel of your garage door opener. This panel is typically located on the ceiling of the garage near the motor unit. Use a ladder to reach it safely.
Step 2: Access the Programming Button
Once you’ve located the control panel, identify the programming button. This button is usually a small, square-shaped device with a LED light. Press and release the programming button. The LED light will illuminate, indicating that the garage door opener is now in programming mode.
Step 3: Program the Remote
Hold the remote close to the control panel and press the desired button on the remote that you want to use to operate the garage door. The LED light on the control panel will flash, signifying that the remote has been successfully programmed.
Step 4: Test the Remote
After programming the remote, it’s crucial to test its functionality. Stand at a reasonable distance from the garage door and press the programmed button on the remote. The garage door should respond by opening or closing, confirming that the programming was successful.
Step 5: Repeat for Additional Remotes
If you have multiple remotes for your multi-code garage door opener, repeat the programming process for each remote. This ensures that all the remotes are synchronized with the rolling code system.
Step 6: Resetting the Codes (Optional)
For enhanced security, consider resetting the codes periodically. To reset the codes, locate the “Learn” or “Smart” button on the control panel and hold it down until the LED light blinks. This action erases all programmed remotes, requiring you to reprogram them from scratch.
Conclusion
Programming a multi-code garage door opener may seem complex initially, but following these step-by-step instructions makes the process manageable. The enhanced security and convenience provided by multi-code technology make it a worthwhile investment for any homeowner. Regularly testing and resetting the codes will ensure the continued reliability and security of your garage door opener system. With this guide, you can confidently program your multi-code garage door opener and enjoy the peace of mind that comes with a secure and efficient home access solution.
A1 Garage Doors is providing maintenance and installation services related to garage doors and their parts. If you’re looking for a trustworthy service by skilled technicians you can count on, give us a call at 343-309-9964 for a free quote.