 Skip to content
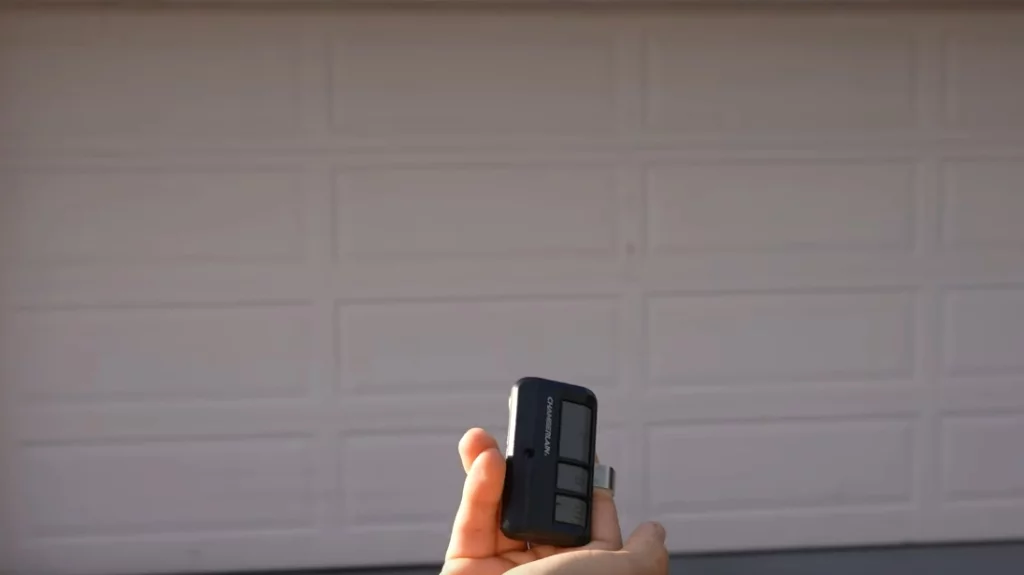
How To Program A Universal Garage Door Opener Remote?
Garage door openers have become a standard convenience in modern homes. However, keeping track of individual remotes for different systems can be a hassle. Universal garage door opener remotes provide a flexible solution to this problem by being compatible with a wide range of garage door openers. This guide will help you understand the steps involved in programming a universal garage door opener remote.
Understanding Universal Garage Door Opener Remotes
A universal garage door opener remote is a versatile device that can be programmed to work with different garage door openers from various manufacturers. The key advantage of a universal remote is that it eliminates the need for multiple remotes for different garage doors. It is particularly useful for families or individuals who may have more than one garage door at home, or for those who have lost or damaged their original remotes.
There are two primary ways to program a universal remote: using the garage door opener’s learn button or manually inputting the opener’s frequency and code. Each method depends on the specific model of your garage door opener and the universal remote you are using.
Step 1: Preparation Before Programming
Before beginning the programming process, it’s essential to gather the necessary tools and information to ensure a smooth experience.
Read the Manual: The first step is to thoroughly read the user manual for your universal remote. Different remotes can have slight variations in their programming methods, and the manual will provide crucial information specific to your device.
Locate the Learn Button on the Garage Door Opener: Most garage door openers manufactured in the last two decades have a “Learn” button. This button is typically located on the back or side of the garage door opener motor unit, near the antenna wire. The color of the learn button (e.g., red, yellow, purple) can also indicate the type of remote or frequency it uses.
Identify the Frequency and Code of Your Garage Door Opener: If your garage door opener is an older model, it may use dip switches to control the frequency and code. These are small switches inside the remote and the opener that need to be set to match each other.
Step 2: Programming with the Learn Button
The most common method of programming a universal garage door opener remote is by using the learn button on the garage door opener motor. This method is straightforward and typically takes only a few minutes.
Step 2.1: Access the Garage Door Opener
First, ensure the garage door opener motor is accessible. Depending on the height and location of your garage door opener, you may need a ladder. Ensure that the power to the unit is on and that the area is clear of obstructions.
Step 2.2: Locate and Press the Learn Button
Locate the learn button on the garage door opener. Press and hold this button for a few seconds until the indicator light next to it begins to blink. This blinking light indicates that the garage door opener is ready to accept a new remote.
Step 2.3: Press the Button on the Universal Remote
Once the indicator light is blinking, press the button on the universal remote that you wish to program. Hold the button for a few seconds until you see the indicator light on the garage door opener stop blinking and remain lit for a brief moment. This signifies that the remote has been successfully programmed.
Step 2.4: Test the Remote
After programming the remote, test it by pressing the button to see if the garage door opens or closes as expected. If the door does not respond, repeat the process from step 2.2. Ensure that you are within a reasonable range of the garage door opener when testing the remote.
Step 3: Programming with Dip Switches
For older garage door openers that use dip switches to control the frequency and code, the programming process is slightly different. Dip switches are small switches located inside both the opener and the remote that must be matched for the system to work.
Step 3.1: Open the Garage Door Opener and Remote
Begin by locating the dip switches in both the garage door opener and the universal remote. For the garage door opener, this usually involves removing a small panel on the side or back of the motor unit. For the remote, you may need to open the battery compartment or remove a small cover to access the switches.
Step 3.2: Match the Dip Switch Settings
Once you have access to the dip switches in both the opener and the remote, set them to the same positions. Dip switches can be toggled between two positions, typically labeled “ON” and “OFF.” Ensure that the positions of the dip switches in the remote exactly match the positions of the switches in the garage door opener.
Step 3.3: Close the Units and Test
After matching the dip switches, close both the garage door opener and the remote. Test the remote by pressing the button and observing if the garage door responds. If the door does not open or close, double-check that the dip switches are aligned correctly.
Troubleshooting Common Issues
Sometimes, despite following the steps correctly, your universal remote may not function as expected. Here are a few troubleshooting tips to resolve common problems.
Check the Batteries
One of the most common issues with garage door opener remotes is low or dead batteries. Ensure that the batteries in your universal remote are fresh and properly installed.
Reset and Reprogram
If the remote still does not work, try resetting the garage door opener and the remote. This can often resolve any programming errors that may have occurred. To reset the opener, unplug the motor unit for a minute and then plug it back in. Reprogram the remote using the steps outlined above.
Verify Compatibility
If your remote is not working even after troubleshooting, verify that your garage door opener is compatible with the universal remote. Some universal remotes are only compatible with certain brands or models, so double-check the specifications.
Interference from Other Devices
In rare cases, electronic interference from other devices in your home, such as wireless routers or cordless phones, may affect the performance of the remote. If you suspect interference, try relocating these devices or adjusting their settings to minimize the impact.
Conclusion
Programming a universal garage door opener remote is a relatively simple process that can save you the hassle of managing multiple remotes for different garage doors. By following the steps outlined in this guide, you should be able to successfully program your universal remote and enjoy the convenience of a single device controlling multiple doors.
Always remember to consult the manual for your specific universal remote, as programming steps can vary slightly between models. With the right preparation and careful execution, you’ll have your universal remote up and running in no time.
A1 Garage Doors is providing maintenance and installation services related to garage doors and their parts. If you’re looking for a trustworthy service by skilled technicians you can count on, give us a call at 343-309-9964 for a free quote.