 Skip to content
How To Install Garage Door Weather Stripping? Step-by-step Guide
Introduction
Your garage door serves as more than just a barrier to protect your vehicles and belongings; it also plays a crucial role in maintaining your home’s energy efficiency. To ensure your garage remains comfortable and free from drafts, it’s essential to install weather stripping. In this comprehensive guide, we’ll walk you through the process of installing garage door weather stripping, step by step.
Step 1: Gather Your Materials
Before you start the installation process, gather all the necessary materials and tools. Here’s what you’ll need:
- Weather stripping material (typically made of rubber, vinyl, or foam).
- Tape measure.
- Utility knife or scissors.
- Screwdriver.
- Hammer.
- Nails or screws.
- Caulk gun (if you opt for adhesive-backed weather stripping).
- Safety glasses and gloves.
Step 2: Measure Your Garage Door
Measure the perimeter of your garage door frame. Start at the bottom and work your way up the sides and across the top. Record these measurements accurately, as they will determine the amount of weather stripping you need.
Step 3: Choose the Right Weather Stripping
There are various types of weather stripping materials available, including vinyl, rubber, and foam. The choice depends on your climate and personal preferences. Foam weather stripping is budget-friendly but may not last as long as rubber or vinyl options. Select the type that suits your needs best.
Step 4: Clean the Surface
Before applying the weather stripping, ensure the surface is clean and free of dust, dirt, and debris. Use a damp cloth to wipe down the areas where you’ll be attaching the weather stripping.
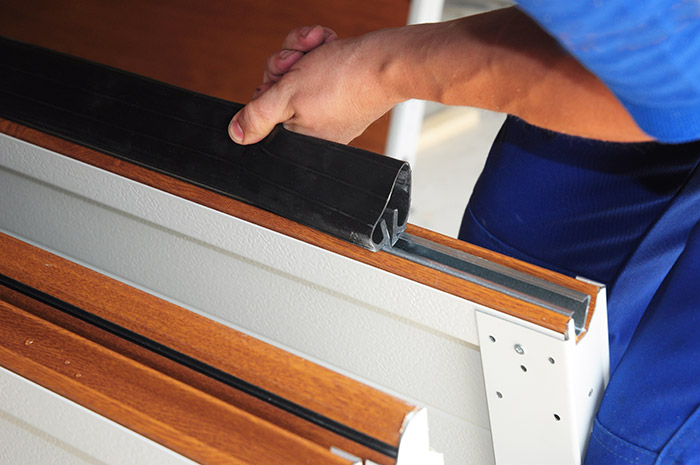
Step 5: Install the Bottom Seal
Begin with the bottom of the garage door. Measure and cut the weather stripping to the length of the door. Place it at the bottom, ensuring it creates a snug seal. Attach it using nails or screws.
Step 6: Attach the Side Strips
Move on to the sides of the garage door. Measure and cut strips of weather stripping to match the height of each side. Position the weather stripping along the sides, making sure it forms a tight seal with the door frame. Secure it in place using nails or screws.
Step 7: Install the Top Strip
Measure and cut a strip of weather stripping for the top of the garage door. Place it along the top edge of the door frame, ensuring it forms a tight seal when the door is closed. Attach it using nails or screws.
Step 8: Test the Seal
With the weather stripping in place, close the garage door to check for any gaps or areas where the seal isn’t tight. Make any necessary adjustments by repositioning or trimming the weather stripping.
Step 9: Optional – Apply Caulk
If you’re using adhesive-backed weather stripping and want an extra seal, you can apply a bead of caulk along the edges of the weather stripping. This will provide additional insulation and prevent air and moisture from seeping in.
Step 10: Regular Maintenance
Once the weather stripping is in place, it’s essential to inspect it regularly for wear and tear. Replace any damaged or worn-out weather stripping promptly to maintain the seal’s effectiveness.
Conclusion
Installing garage door weather stripping is a simple yet effective way to improve your home’s energy efficiency and keep your garage comfortable year-round. With the right materials and proper installation, you can create a tight seal that keeps out drafts, dust, and moisture. Follow this step-by-step guide, and you’ll be on your way to a well-insulated and weather-resistant garage in no time.
A1 Garage Doors is providing maintenance and installation services related to garage doors and their parts. If you’re looking for a trustworthy service by skilled technicians you can count on, give us a call at 343-309-9964 for a free quote.