 Skip to content
How to Fix Garage Door Hinges?
Introduction
Your garage door plays a crucial role in securing your home and providing easy access to your vehicles and storage space. However, over time, garage door hinges can wear out or become damaged, leading to various issues like squeaking, misalignment, or even complete failure. Fortunately, fixing garage door hinges is a manageable DIY project that can save you money and extend the lifespan of your door. In this comprehensive guide, we’ll walk you through the steps to fix garage door hinges effectively.
Tools and Materials You’ll Need
Before diving into the repair process, make sure you have the following tools and materials ready:
- Safety goggles and gloves
- Adjustable wrench
- Screwdriver set
- Lubricant (silicone or garage door-specific lubricant)
- Replacement hinges (if needed)
- Helper (optional)
Step 1: Safety First
Always prioritize safety when working on your garage door. Wear safety goggles and gloves to protect your eyes and hands from any debris or sharp edges. Additionally, disconnect the power to your garage door opener to prevent any accidental activation while working.
Step 2: Inspect the Hinges
Start by inspecting the hinges for damage or wear. Look for signs of rust, cracks, or misalignment. Identify the problematic hinges that need repair or replacement.
Step 3: Secure the Garage Door
To prevent the garage door from falling while you work on it, use C-clamps to secure it in place. Place the clamps below the bottom rollers on both sides of the door track. This will keep the door steady during the repair.
Step 4: Remove the Damaged Hinges
Using your adjustable wrench and screwdriver, carefully remove the bolts or screws securing the damaged hinges to the door and frame. Have a helper hold the hinge in place while you do this to avoid accidents.
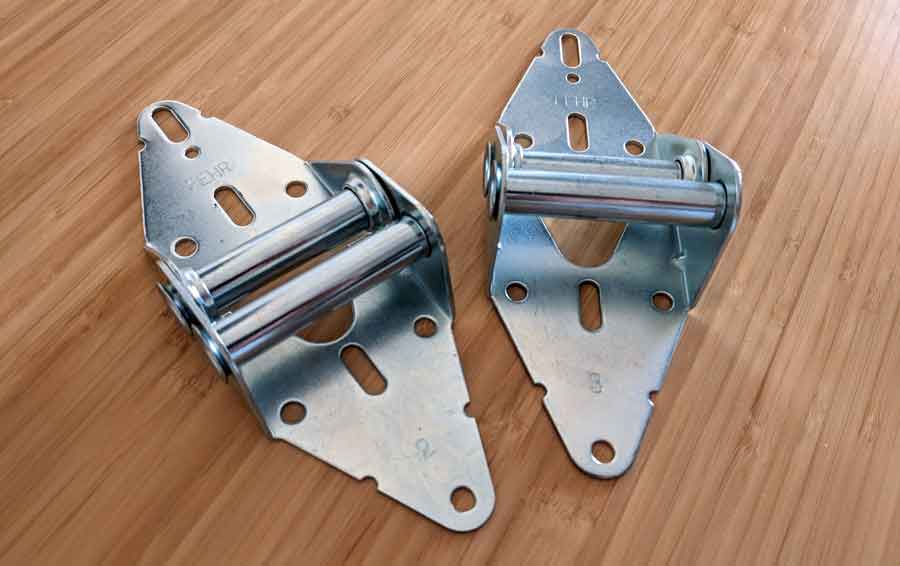
Step 5: Replace the Hinges (If Necessary)
If the hinges are beyond repair due to extensive damage, it’s best to replace them with new ones. Ensure that you purchase hinges of the same size and type as the old ones. Attach the new hinges using the same screws or bolts that you removed in the previous step.
Step 6: Lubricate the Hinges
Proper lubrication is essential for smooth garage door operation and to prevent future issues. Apply a generous amount of silicone or garage door-specific lubricant to all moving parts of the hinges, including the pivot points and rollers.
Step 7: Check for Alignment
Once the hinges are secured and lubricated, carefully check the alignment of the garage door. It should move smoothly and evenly without any noticeable obstructions or resistance. If there are any issues with alignment, adjust the hinges as needed.
Step 8: Test the Door
Reconnect the power to your garage door opener and test the door’s operation. Open and close it a few times to ensure it moves smoothly without any squeaking or grinding sounds.
Step 9: Perform Regular Maintenance
Prevention is key to extending the life of your garage door hinges. Make it a habit to perform routine maintenance by cleaning and lubricating the hinges at least twice a year. This will help prevent future issues and keep your garage door in optimal condition.
Conclusion
Fixing garage door hinges is a manageable DIY task that can save you time and money. By following these steps and regularly maintaining your garage door, you can ensure it operates smoothly and efficiently for years to come. Remember always to prioritize safety and seek professional help if you encounter any issues beyond your expertise. With the right tools and a bit of patience, you can keep your garage door in top-notch condition. A1 Garage Doors is your go to destination for Garage Door Repairs in Ottawa area.