 Skip to content
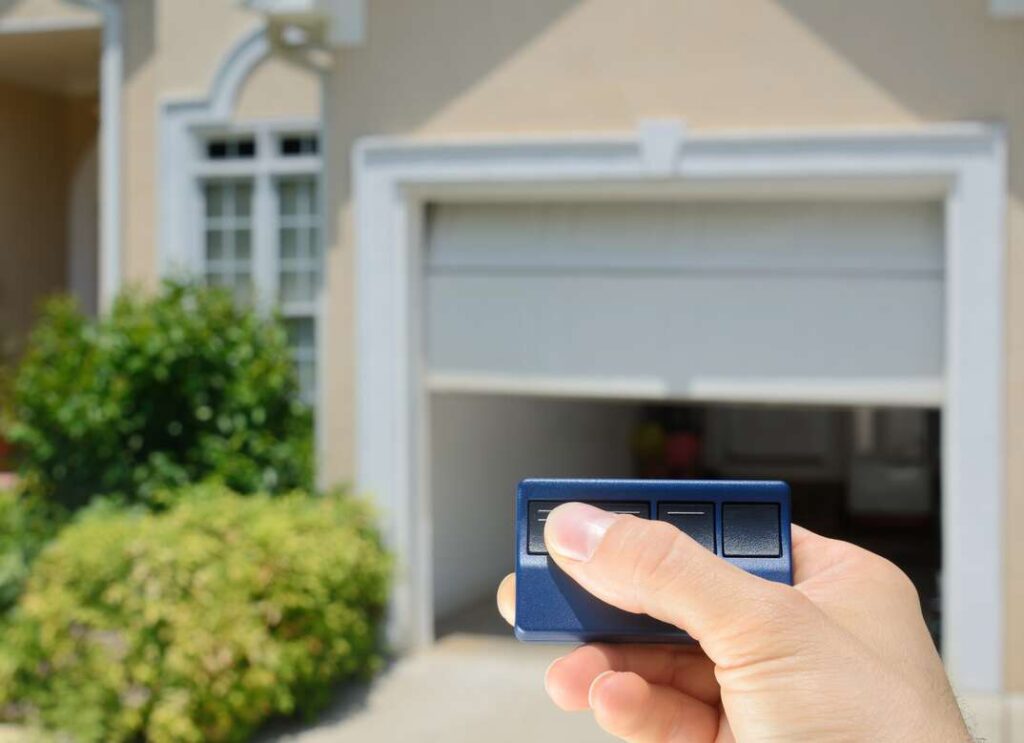
How To Change Frequency On Garage Door Remote?
Your garage door remote is a convenient device that allows you to effortlessly open and close your garage with just the push of a button. However, if you’re experiencing interference or have concerns about security, changing the frequency on your garage door remote can be a practical solution. In this comprehensive guide, we’ll walk you through the step-by-step process of changing the frequency on your garage door remote, ensuring a smooth and secure operation.
Understanding Garage Door Remote Frequencies
Before delving into the process of changing the frequency, it’s essential to have a basic understanding of how garage door remotes work. Garage door openers typically operate on radio frequencies, commonly in the range of 300-400 MHz. The frequency is what allows the remote to communicate with the opener and trigger the desired action, such as opening or closing the garage door.
Reasons to Change the Frequency
There are various reasons why you might consider changing the frequency on your garage door remote:
Interference Issues: If you live in an area with multiple garage doors in close proximity, there’s a chance of interference. Changing the frequency can help you avoid accidentally opening your neighbor’s garage door or vice versa.
Security Concerns: Older garage door openers may use fixed or easily hackable codes, posing a security risk. Changing the frequency adds an extra layer of protection against unauthorized access.
Upgrading Technology: If you’re upgrading your garage door opener or remote to a newer model, changing the frequency may be necessary to ensure compatibility and improved security features.
Steps to Change the Frequency on Your Garage Door Remote
Now, let’s go through the step-by-step process of changing the frequency on your garage door remote:
Step 1: Identify the Current Frequency
Check your garage door opener’s manual or the information on the motor unit to identify the current frequency. Common frequencies include 315 MHz and 390 MHz.
Step 2: Locate the Frequency Adjustment Button
On some garage door openers, there is a frequency adjustment button located on the motor unit. Consult your opener’s manual to find the exact location of this button.
Step 3: Press the Frequency Adjustment Button
Press and hold the frequency adjustment button until the indicator light starts blinking. This indicates that the opener is now in programming mode.
Step 4: Adjust the Frequency
Use the remote control to press the button you want to use to open and close the garage door. The opener will register the new frequency, and the indicator light should stop blinking.
Step 5: Test the Remote
Test the remote to ensure that it is now operating on the new frequency. If the garage door responds correctly, the frequency change was successful.
Step 6: Reprogram Other Remotes
If you have multiple remotes, repeat the process for each one to ensure that all your devices are on the same frequency.
Step 7: Update Keypads and Homelink Systems
If your garage door opener is equipped with a keypad or Homelink system in your car, you may need to reprogram them to match the new frequency.
Conclusion
Changing the frequency on your garage door remote is a straightforward process that can enhance security and prevent interference issues. By following these step-by-step instructions, you can ensure that your garage door remote operates smoothly and securely. Always refer to your garage door opener’s manual for specific instructions, and enjoy the peace of mind that comes with a properly configured and secure garage door system.
A1 Garage Doors is providing maintenance and installation services related to garage doors and their parts. If you’re looking for a trustworthy service by skilled technicians you can count on, give us a call at 343-309-9964 for a free quote.