 Skip to content
How To Change A Garage Door Motor?
Introduction
- Brief overview of the importance of a functional garage door motor.
- Mention common signs indicating the need for motor replacement.
- Emphasize the safety precautions to be followed throughout the process.
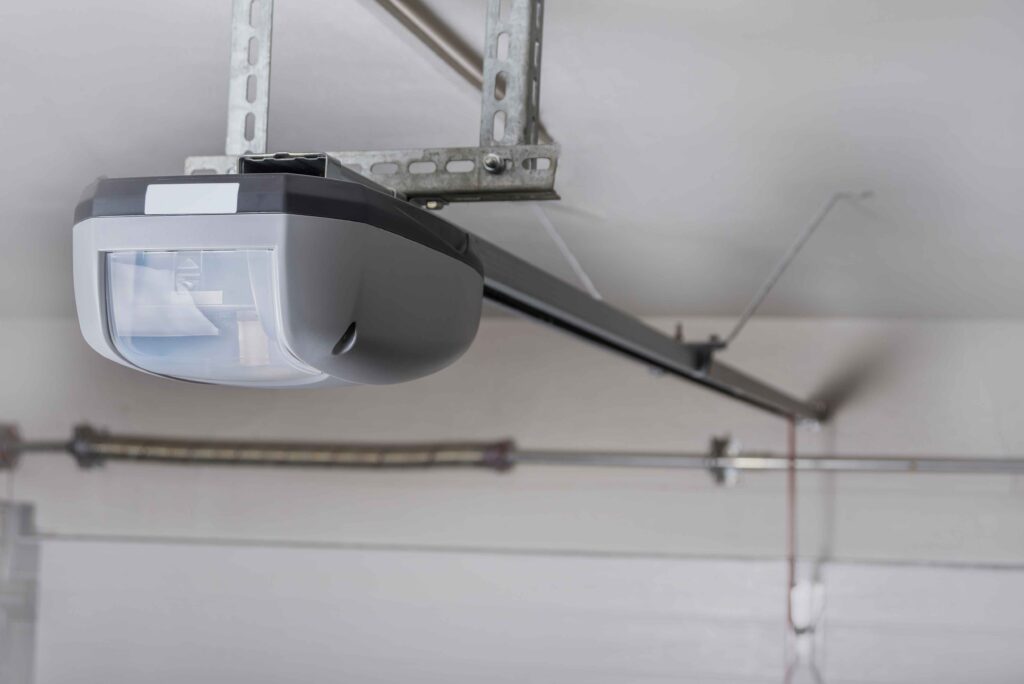
Understanding the Garage Door Motor
- Explanation of the motor’s role in the garage door mechanism.
- Types of garage door motors: chain-driven, belt-driven, and screw-driven.
- Overview of the components comprising a garage door motor system.
Assessing the Need for Replacement
- Signs indicating a faulty garage door motor: unusual noises, erratic movements, failure to open or close smoothly.
- Importance of diagnosing the problem accurately before proceeding with replacement.
Gathering Necessary Tools and Materials
- List of tools required: screwdriver, wrench, pliers, ladder, safety goggles, etc.
- Materials needed: replacement motor kit, lubricant, electrical tape, etc.
Safety Precautions
- Importance of disconnecting power supply to the garage door opener.
- Wearing appropriate safety gear: gloves, safety goggles, and closed-toe shoes.
- Ensuring the garage door is in the closed position before starting the replacement process.
Disconnecting the Existing Motor
- Step-by-step instructions on disconnecting the power source.
- Removing the cover of the garage door motor unit.
- Detaching the wires connecting the motor to the electrical system.
Removing the Old Motor
- Loosening the bolts securing the motor to the mounting brackets.
- Detaching the chain or belt from the motor gear.
- Carefully lifting out the old motor from its position.
Installing the New Motor
- Attaching the new motor to the mounting brackets.
- Connecting the chain or belt to the motor gear.
- Securing the motor in place with bolts and ensuring proper alignment.
Wiring the New Motor
- Connecting the wires from the new motor to the electrical system.
- Ensuring proper insulation and securing connections with electrical tape.
- Following manufacturer’s instructions for wiring specific to the motor model.
Testing the Garage Door
- Reconnecting the power supply and testing the functionality of the new motor.
- Checking for smooth operation and any unusual noises.
- Adjusting the motor settings as needed for optimal performance.
Lubricating and Maintenance
- Applying lubricant to the moving parts of the garage door mechanism.
- Regular maintenance tips to prolong the lifespan of the new motor.
- Importance of periodic inspections and adjustments for smooth operation.
Conclusion
- Recap of the step-by-step process for changing a garage door motor.
- Emphasize the importance of safety precautions and proper installation techniques.
- Encouragement for seeking professional assistance if unsure or uncomfortable with DIY replacement.
A1 Garage Doors is providing maintenance and installation services related to garage doors and their parts. If you’re looking for a trustworthy service by skilled technicians you can count on, give us a call at 343-309-9964 for a free quote.