 Skip to content
How Do You Reset A Garage Door?
Garage doors are crucial components of a home’s security and convenience. However, like all mechanical devices, they can experience issues that may require resetting. Resetting a garage door can solve problems like misalignment, sensor malfunctions, or remote control issues. This guide will walk you through the steps to reset your garage door, ensuring it operates smoothly and efficiently.
Understanding the Need for Resetting
Before diving into the reset process, it’s essential to understand why resetting might be necessary. Over time, various factors can affect the performance of your garage door. These include power outages, electrical surges, misaligned sensors, or issues with the remote control. Resetting your garage door can often restore it to its optimal state, addressing these common problems.
Safety Precautions
Before attempting any work on your garage door, prioritize safety. Garage doors are heavy and under significant tension, which can pose serious risks if handled improperly.
Disconnect Power: Ensure the power to the garage door opener is disconnected. This prevents accidental activation while you’re working.
Check for Clearances: Make sure there is nothing obstructing the door’s path.
Wear Safety Gear: Use safety glasses and gloves to protect yourself from potential hazards.
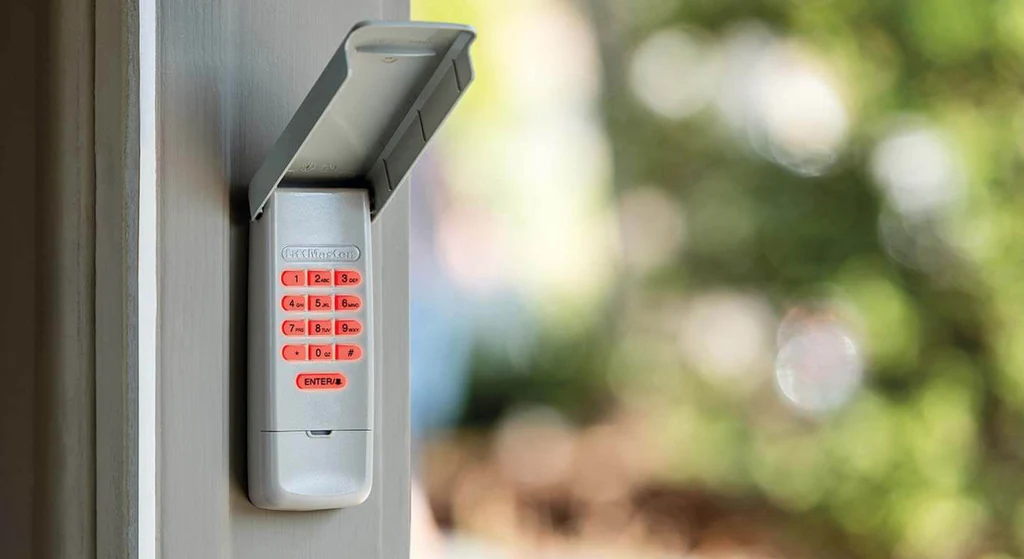
Resetting the Garage Door Opener
The first step in resetting your garage door is to reset the opener. Most modern garage door openers have a reset button that simplifies this process.
Locate the Reset Button: The reset button is usually found on the motor unit. It might be labeled “Reset,” “Learn,” or “Home.”
Press and Hold the Button: Press and hold the reset button for about 10 seconds. You might notice an indicator light blinking or hear a beep, signaling that the reset process has begun.
Release the Button: After holding the button for the designated time, release it. The opener should now be reset to its factory settings.
Reprogramming the Remote Control
After resetting the opener, you’ll need to reprogram your remote control. This step ensures that the remote can communicate with the opener correctly.
Locate the Learn Button: The learn button is usually near the reset button on the motor unit.
Press the Learn Button: Press the learn button once. An indicator light should start blinking.
Press the Remote Button: Within 30 seconds, press the button on your remote control that you want to use to operate the garage door. The indicator light on the motor unit should stop blinking, indicating that the remote has been successfully programmed.
Checking and Aligning the Sensors
Garage door sensors are vital for safety, preventing the door from closing if there is an obstruction. Misaligned or dirty sensors can cause the door to malfunction.
Inspect the Sensors: Locate the sensors on either side of the garage door near the ground. They should be facing each other.
Clean the Sensors: Wipe any dirt or debris from the sensor lenses using a clean cloth.
Align the Sensors: Ensure the sensors are aligned correctly. They should be pointing directly at each other. Most sensors have indicator lights that show their status. A steady light typically means they are aligned, while a blinking light indicates misalignment.
Testing the Garage Door
Once you’ve reset the opener, reprogrammed the remote, and checked the sensors, it’s time to test the garage door to ensure everything is functioning correctly.
Reconnect the Power: Plug the garage door opener back into the power source.
Operate the Door: Use the remote control to open and close the door. Observe its movement to ensure it operates smoothly without any jerking or unusual noises.
Check the Sensors: Place an object in the door’s path and try to close it. The door should reverse its direction when it detects the obstruction, confirming the sensors are working correctly.
Troubleshooting Common Issues
If the garage door does not operate correctly after resetting, consider these troubleshooting tips:
Remote Control Issues: Replace the batteries in the remote control and try reprogramming it again.
Sensor Alignment: Double-check the alignment of the sensors and ensure they are clean.
Opener Issues: Consult the user manual for your garage door opener to check for specific troubleshooting steps or error codes.
When to Call a Professional?
While many garage door issues can be resolved through resetting and basic troubleshooting, some problems require professional attention. If you encounter any of the following, it’s best to call a professional:
Persistent Malfunctions: If the door continues to malfunction after resetting and troubleshooting, there might be a deeper issue that needs expert diagnosis.
Unusual Noises: Loud or unusual noises during operation can indicate mechanical problems that require professional repair.
Structural Damage: If the door or its components appear damaged, such as bent tracks or broken springs, professional repair is necessary for safety and proper function.
Conclusion
Resetting a garage door can solve many common issues, restoring its functionality and ensuring the safety of your home. By following these steps, you can reset the opener, reprogram the remote, and check the sensors to keep your garage door operating smoothly. Always prioritize safety and don’t hesitate to call a professional if you encounter problems beyond your expertise. With proper maintenance and occasional resetting, your garage door can provide reliable service for years to come.
A1 Garage Doors is providing maintenance and installation services related to garage doors and their parts. If you’re looking for a trustworthy service by skilled technicians you can count on, give us a call at 343-309-9964 for a free quote.