 Skip to content
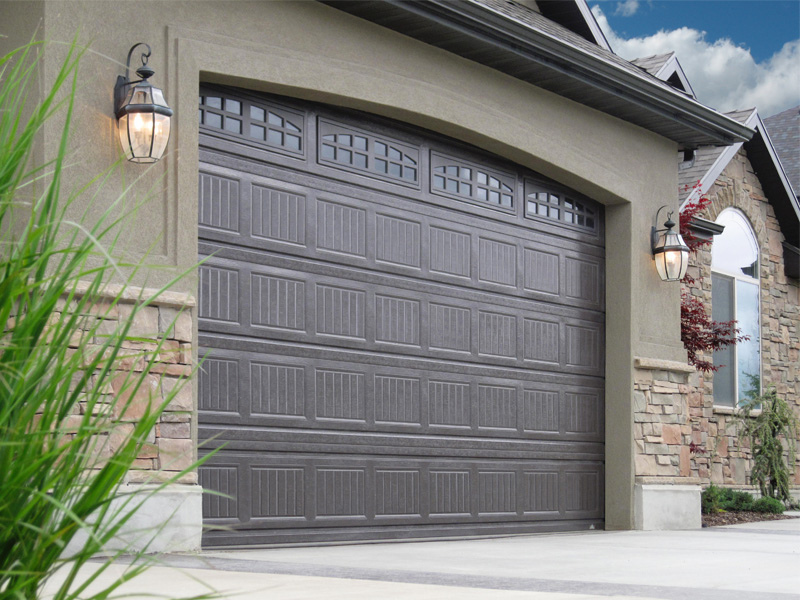
How To Remove A Garage Door?
Removing a garage door may seem daunting, but with the right tools and a systematic approach, it can be accomplished safely and efficiently. Whether you’re replacing an old door, upgrading to a more secure model, or simply removing it for renovations, this guide will walk you through the process step-by-step.
Preparation and Safety Measures
Before starting, it’s crucial to ensure your safety and prepare adequately for the task.
Gather the Necessary Tools and Equipment
You’ll need several tools, including:
- Adjustable wrenches
- Screwdrivers (both flat-head and Phillips)
- Pliers
- Socket set
- Clamps
- Stepladder
Having these tools at hand will streamline the process and prevent unnecessary interruptions.
Ensure Safety First
Garage doors are heavy and can cause serious injury if not handled properly. Always wear safety goggles and gloves to protect yourself from potential injuries. Disconnect the garage door opener from the power source to prevent accidental activation during the removal process. It’s also wise to have a partner assist you, as some steps require handling heavy components.
Step-by-Step Removal Process
Step 1: Disengage the Garage Door Opener
Locate the release cord on the garage door opener and pull it to disconnect the door from the opener. This allows you to manually lift and lower the door without the assistance of the motor.
Step 2: Secure the Door in the Open Position
Lift the garage door and secure it in the fully open position using C-clamps or locking pliers on the tracks just below the bottom roller. This prevents the door from falling unexpectedly while you work on removing it.
Step 3: Remove the Spring Tension
Garage doors are equipped with either torsion or extension springs, both of which are under high tension. Releasing this tension is critical to avoid injury.
For torsion springs:
- Insert a winding bar into one of the winding cone holes.
- Hold the bar firmly and loosen the set screws on the winding cone using a wrench.
- Slowly unwind the spring tension by moving the winding bars alternately, gradually reducing the tension until it’s fully released.
For extension springs:
- Open the garage door fully to relieve most of the tension in the springs.
- Clamp the door in place and then disconnect the safety cables from the springs.
- Carefully detach the springs from the brackets.
Step 4: Detach the Door Panels
Garage doors are typically composed of several panels connected by hinges. Starting from the top panel, remove the screws or bolts securing the hinges and brackets.
- Have a partner support the panel as you remove the fasteners to prevent it from falling.
- Once the top panel is free, carefully lower it and set it aside.
- Repeat this process for each subsequent panel, working your way down to the bottom panel.
Step 5: Remove the Tracks
With the door panels removed, you can now focus on the tracks. The vertical tracks are attached to the wall with brackets, while the horizontal tracks are connected to the ceiling.
- Use a socket wrench to remove the bolts securing the vertical tracks to the wall.
- Once the vertical tracks are detached, move on to the horizontal tracks.
- Support the tracks as you remove the fasteners to prevent them from falling.
Step 6: Disconnect the Garage Door Opener
If you’re replacing the garage door or performing significant renovations, you’ll need to disconnect the garage door opener from the ceiling.
- Unbolt the opener from the mounting brackets.
- Carefully lower the opener and set it aside.
Final Steps and Cleanup
After removing the garage door, it’s important to clean up the area and properly store or dispose of the components.
Inspect and Store Components
If you’re planning to reinstall the garage door later, inspect all components for wear and damage. Store them in a dry, safe place to prevent rust and deterioration.
Dispose of Unwanted Materials
For garage doors that are old or damaged beyond repair, contact your local waste management service to inquire about disposal options. Many areas have recycling programs for metal components.
Tips for a Smooth Removal Process
Work with a Partner
Removing a garage door is a two-person job. Having a partner assist you not only makes the process smoother but also enhances safety.
Label Components
As you remove parts, label them and note their locations. This will make reassembly easier if you plan to reinstall the door.
Take Your Time
Rushing through the removal process can lead to mistakes and injuries. Take your time, follow each step carefully, and ensure you understand what you’re doing before proceeding.
Conclusion
Removing a garage door is a manageable task if approached methodically and with the right precautions. By following the steps outlined in this guide, you can safely and effectively remove your garage door, whether for replacement, repairs, or renovations. Always prioritize safety, work with a partner, and keep your tools organized to ensure a smooth and successful removal process.
A1 Garage Doors is providing maintenance and installation services related to garage doors and their parts. If you’re looking for a trustworthy service by skilled technicians you can count on, give us a call at 343-309-9964 for a free quote.