 Skip to content
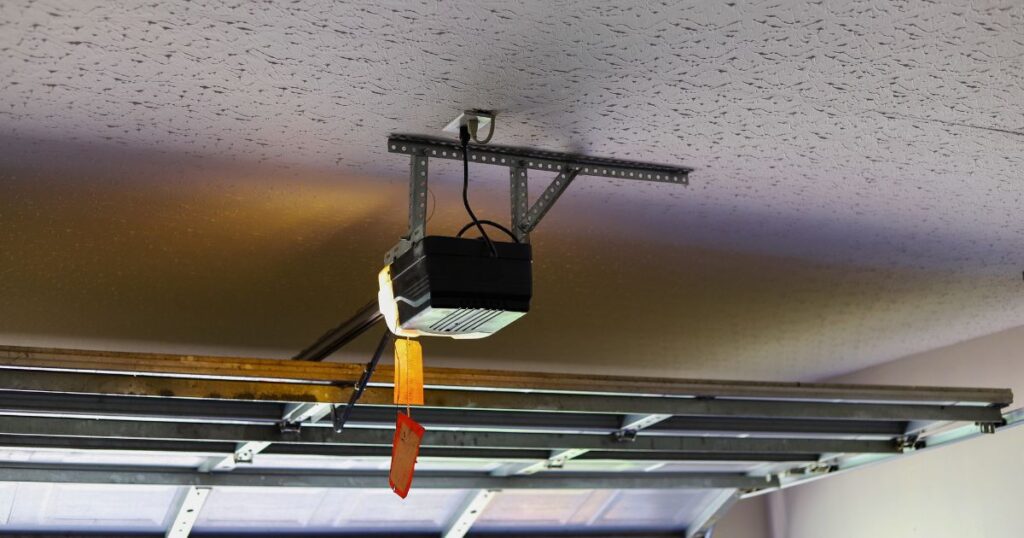
How To Set Garage Door Opener?
A garage door opener is a vital component for many homeowners, offering convenience, security, and ease of access. Setting up a garage door opener can seem daunting, but with the right instructions, it can be a manageable and straightforward process. This guide will take you through the necessary steps to set up your garage door opener effectively.
Understanding Your Garage Door Opener
Before diving into the setup process, it’s important to understand the different types of garage door openers available. The three main types are chain-drive, belt-drive, and screw-drive openers. Each type has its advantages and considerations:
- Chain-drive openers are durable and cost-effective but can be noisy.
- Belt-drive openers are quieter and smoother but generally more expensive.
- Screw-drive openers offer a balance of performance and cost, though they can be noisier in cold climates.
- Knowing the type of opener you have will help you follow the specific instructions relevant to your model.
Gathering Tools and Materials
To set up your garage door opener, you’ll need several tools and materials:
- Ladder
- Screwdrivers (flat-head and Phillips)
- Wrenches
- Pliers
- Drill and drill bits
- Measuring tape
- Level
- Stepladder
- Garage door opener kit (including the motor unit, rail, mounting brackets, sensors, and remote controls)
Preparing the Garage Door
Inspect the door: Ensure your garage door is in good condition. Check for any damage or wear that could interfere with the opener’s operation. The door should open and close smoothly manually.
Lubricate moving parts: Lubricate the rollers, hinges, and tracks to ensure smooth operation.
Measure the height and width: Measure the height and width of the garage door to ensure compatibility with the opener you have purchased.
Installing the Garage Door Opener
Assemble the rail: Follow the manufacturer’s instructions to assemble the rail, which connects the motor unit to the door. Typically, this involves joining several sections together using provided hardware.
Attach the rail to the motor unit: Secure the assembled rail to the motor unit using the provided bolts and nuts. Ensure it is tightly fastened to prevent any movement during operation.
Position the opener: Use a stepladder to hold the motor unit in place near the ceiling at the center of the garage door. Measure the distance from the door to the ceiling and position the motor unit accordingly, ensuring it is centered.
Install the header bracket: Attach the header bracket to the wall above the garage door, aligning it with the center of the door. Use a level to ensure it is straight and secure it with the provided lag screws.
Attach the rail to the header bracket: Connect the rail to the header bracket using the provided hardware. Ensure it is securely fastened.
Install the ceiling mount: Attach the ceiling mount to the garage ceiling, ensuring it is aligned with the motor unit. Secure it with lag screws and ensure it can support the weight of the motor unit.
Connect the motor unit to the ceiling mount: Secure the motor unit to the ceiling mount using the provided brackets and hardware. Ensure it is tightly fastened.
Wiring and Electrical Connections
Install the safety sensors: Attach the safety sensors to the tracks on either side of the garage door, about 6 inches above the floor. Ensure they are aligned and facing each other. Secure them with the provided brackets and screws.
Run the wires: Run the wires from the safety sensors to the motor unit, securing them along the walls and ceiling with staples or clips. Ensure the wires are out of the way and not dangling.
Connect the wires: Connect the wires from the safety sensors to the motor unit according to the manufacturer’s instructions. Typically, this involves inserting the wires into designated terminals and tightening the screws.
Plug in the motor unit: Plug the motor unit into a nearby electrical outlet. If necessary, use an extension cord rated for the appropriate amperage.
Programming the Opener
Set the remote controls: Follow the manufacturer’s instructions to program the remote controls. This usually involves pressing a specific button on the motor unit and then pressing a button on the remote control to sync them.
Adjust the travel limits: Adjust the travel limits to ensure the door opens and closes fully without over-traveling. This is typically done using adjustment screws on the motor unit.
Test the opener: Test the opener by using the remote control to open and close the garage door. Ensure it operates smoothly and stops at the correct positions. Adjust the travel limits as necessary.
Set the keypad: If your opener includes a keypad, follow the manufacturer’s instructions to set it up. This usually involves entering a code and syncing it with the motor unit.
Final Adjustments and Testing
Check the balance: Disconnect the opener from the door and manually open and close the door. Ensure it operates smoothly and remains balanced. If necessary, adjust the springs or seek professional assistance.
Test the safety sensors: Place an object in the path of the closing door to ensure the sensors detect it and reverse the door’s direction. If the sensors are not functioning correctly, check the alignment and wiring.
Secure all components: Ensure all components, including the motor unit, rail, and safety sensors, are securely fastened and not loose.
Final test: Perform a final test by opening and closing the garage door multiple times with the remote control and keypad. Ensure everything operates smoothly and as expected.
Maintenance Tips
Regular maintenance is essential for keeping your garage door opener in optimal condition:
Lubricate moving parts: Regularly lubricate the rollers, hinges, and tracks to ensure smooth operation.
Check the balance: Periodically check the balance of the garage door to ensure it operates smoothly and remains balanced.
Inspect the safety sensors: Regularly inspect the safety sensors to ensure they are aligned and functioning correctly.
Tighten hardware: Periodically check and tighten all hardware, including the motor unit, rail, and safety sensors.
By following these steps and maintaining your garage door opener, you can ensure reliable and efficient operation for years to come. Setting up a garage door opener may seem complex, but with patience and attention to detail, it is a manageable task that enhances the convenience and security of your home.
A1 Garage Doors is providing maintenance and installation services related to garage doors and their parts. If you’re looking for a trustworthy service by skilled technicians you can count on, give us a call at 343-309-9964 for a free quote.