 Skip to content
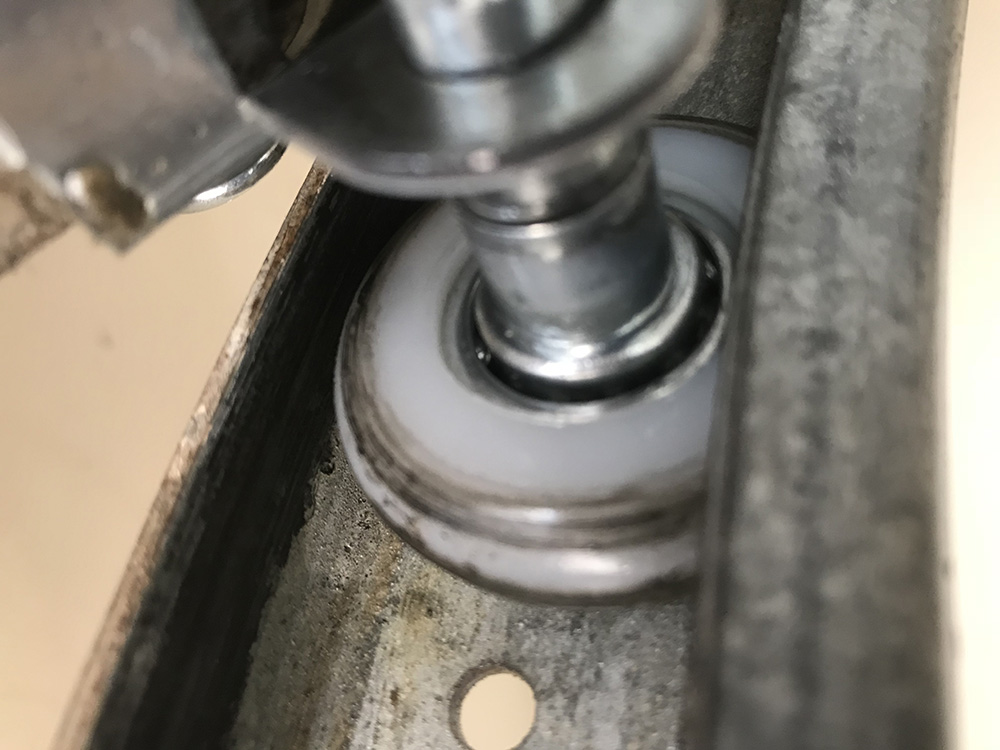
How To Replace A Garage Door Roller?
Your garage door is a crucial component of your home, providing security and easy access to your vehicle and storage space. Over time, garage door rollers can wear out, leading to noisy and inefficient operation. Replacing these rollers is a manageable DIY task that can enhance the overall performance of your garage door. In this comprehensive guide, we’ll walk you through the step-by-step process of replacing garage door rollers, ensuring a smooth and quiet operation.
Tools and Materials Needed
Before you begin, gather the necessary tools and materials to streamline the replacement process:
- Replacement garage door rollers
- Adjustable wrench
- Pliers
- C-clamp
- Screwdriver
- Pry bar
- Lubricant (silicone-based preferred)
- Safety glasses
- Ladder
- Helper (optional)
Step 1: Ensure Safety First
Before starting any garage door repair or replacement, prioritize safety. Disconnect the automatic garage door opener and unplug it from the electrical outlet. If your garage door is particularly heavy, consider asking a friend or family member for assistance.
Step 2: Identify the Problematic Roller
Inspect your garage door to identify the rollers that need replacement. Rollers are typically located in sets on both sides of the door. If a roller is visibly worn, cracked, or damaged, it’s time to replace it.
Step 3: Secure the Garage Door
Use a C-clamp to secure the garage door in place. This prevents the door from accidentally opening or closing while you’re working on it, ensuring a safe working environment.
Step 4: Remove the Old Roller
Locate the roller bracket on the garage door track. Use a wrench to loosen the bolts securing the roller bracket. Once the bolts are loosened, use pliers to remove the old roller from the bracket. Some rollers may have a pin that needs to be removed before sliding the roller out.
Step 5: Install the New Roller
Slide the new roller into the bracket, ensuring that it aligns with the track. Tighten the bolts securely with a wrench. If your new roller has a pin, insert it to secure the roller in place.
Step 6: Repeat the Process
If you have multiple rollers to replace, repeat steps 4 and 5 for each one. Take your time to ensure that each new roller is securely installed.
Step 7: Lubricate the Rollers
Apply a generous amount of silicone-based lubricant to the newly installed rollers. This helps reduce friction and ensures smooth operation. Lubricate all moving parts, including hinges and springs, for optimal performance.
Step 8: Test the Garage Door
Once all the new rollers are installed and lubricated, remove the C-clamp and test the garage door by opening and closing it manually. Pay attention to any unusual noises or resistance, as these may indicate additional issues that need attention.
Conclusion
Replacing garage door rollers is a practical DIY project that can significantly improve the performance and longevity of your garage door. By following these step-by-step instructions and prioritizing safety, you can tackle this task with confidence, saving both time and money. Regular maintenance, such as lubricating moving parts, will further contribute to a quieter and more efficient garage door operation.
A1 Garage Doors is providing maintenance and installation services related to garage doors and their parts. If you’re looking for a trustworthy service by skilled technicians you can count on, give us a call at 343-309-9964 for a free quote.